13262港澳龙门客栈-免费公开资料大全
网站首页
关于立中
集团概况
企业文化
发展历程
组织架构
所属公司
联系我们
技术研发
研发能力
资质认证
专利技术
产品展示
产品展示
应用领域
新闻资讯
集团新闻
公告通知
招标采购
招标公告
招标流程
人才战略
人才理念
加入我们
加入人才库
社会责任
语言
EN
CN
首页
关于立中
集团概况
企业文化
发展历程
组织架构
所属公司
联系我们
技术研发
研发能力
资质认证
专利技术
产品展示
产品展示
应用领域
新闻资讯
集团新闻
公告通知
招标采购
招标公告
招标流程
人才战略
人才理念
加入我们
加入人才库
社会责任
13262港澳龙门客栈
精炼于心
始创于1984年
ABOUT US
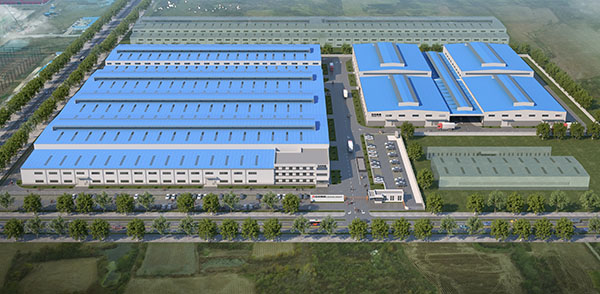
关于立中
1984
年
创始于
24
家
成员企业
160
万吨
铸造铝合金
200
个
合金牌号
300
项
国家专利
PRODUCT DISPLAY
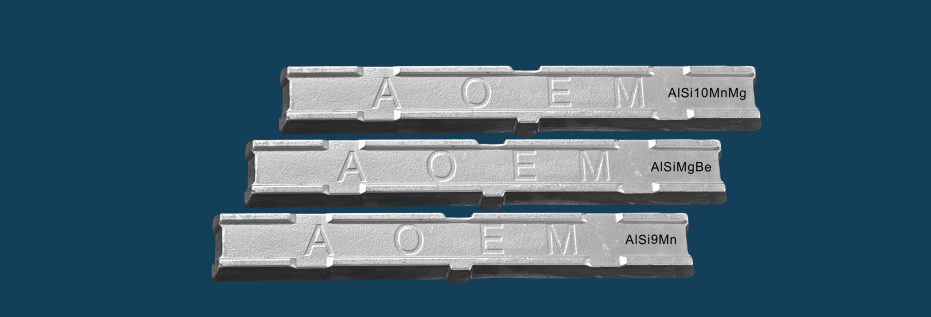
产品展示
铸造铝合金
集团铸造铝合金主要分再生铝合金产品和原生铝合金产品。再生铝合金产品主要有ADC10、ADC12、AlSi9Cu3、A380等系列牌号,原生铝合金产品主要有A356、A357、AC2A、AC4C等系列牌号,产品牌号有200多种。
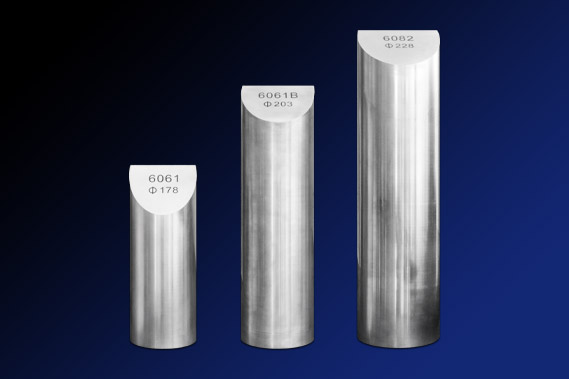
变形铝合金
铝合金铸棒主要有6系和7系两大系列产品,产品规格型号有20多种,广泛应用于航空航天、高铁、汽车、特种行业等领域。
铝合金液
2003年,我们在国内率先开发出了半径60KM范围内铝合金液直接供送技术,为铝合金压铸件企业用户节约了大量设备投资,减少了二次熔化金属损耗,降低了能源消耗和碳排放量。
TECHNOLOGY R&D
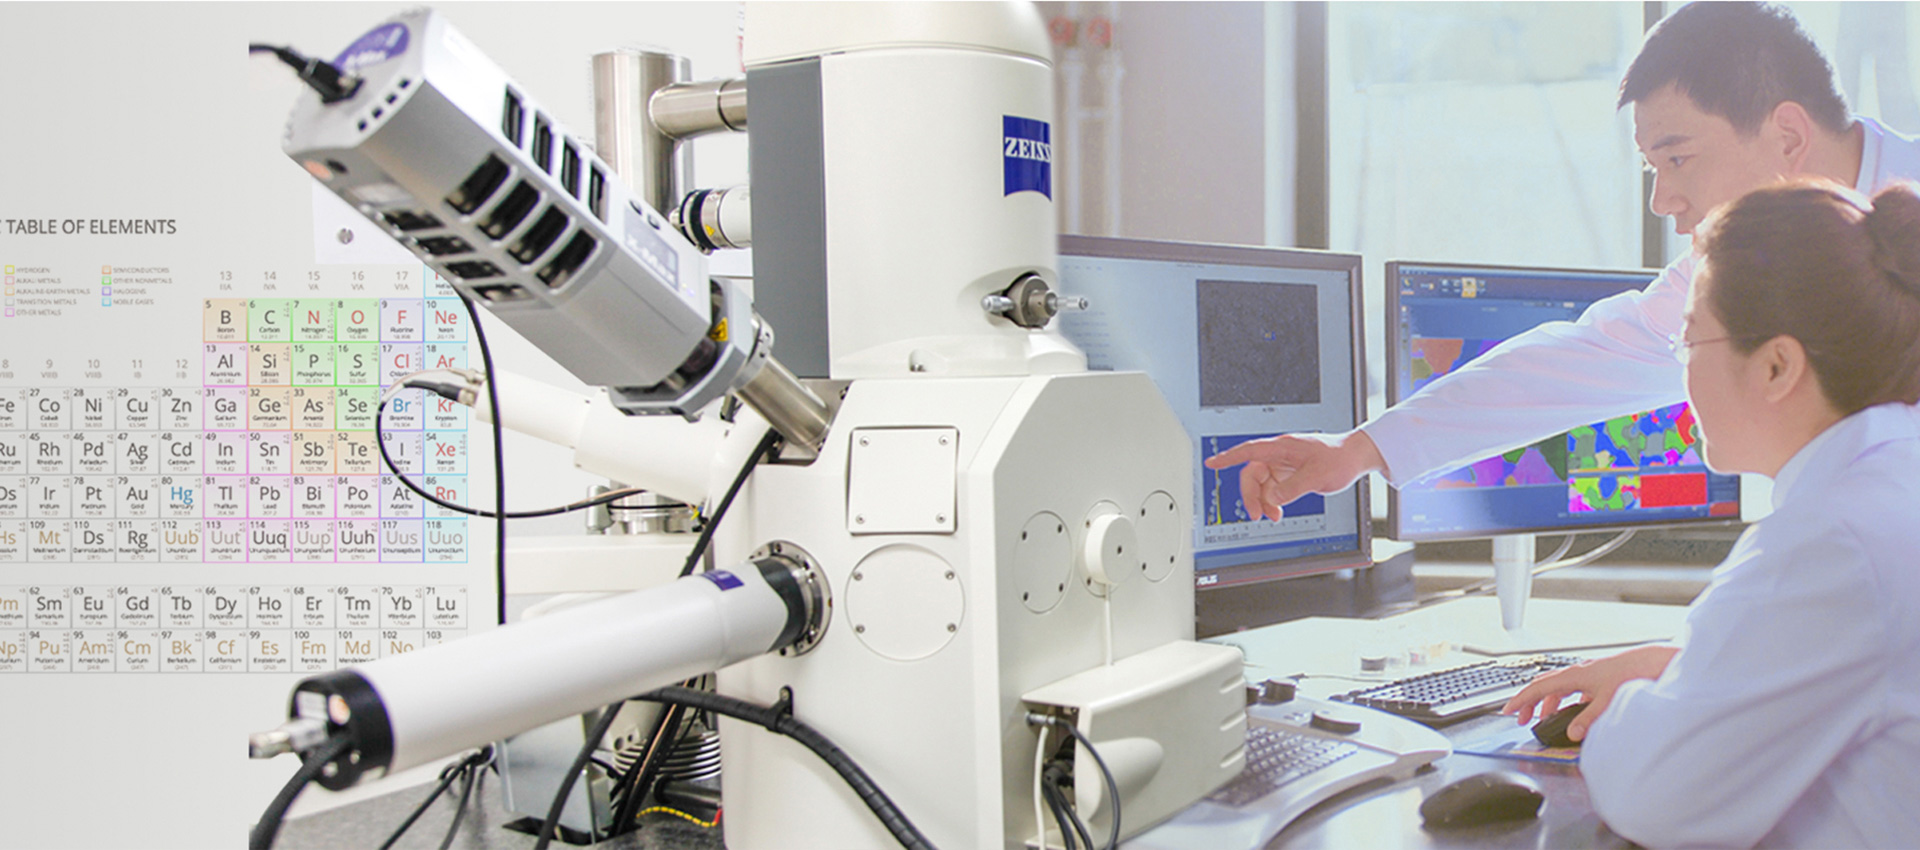
技术研发
想象力和知识同等重要,争先精神和动手能力同样重要,出成果和创造价值才是硬道理!
研发能力
R & D CAPABILITIES
拥有40多台套试验、制备设备
查看详情
专利技术
PATENTED TECHNOLOGY
查看详情
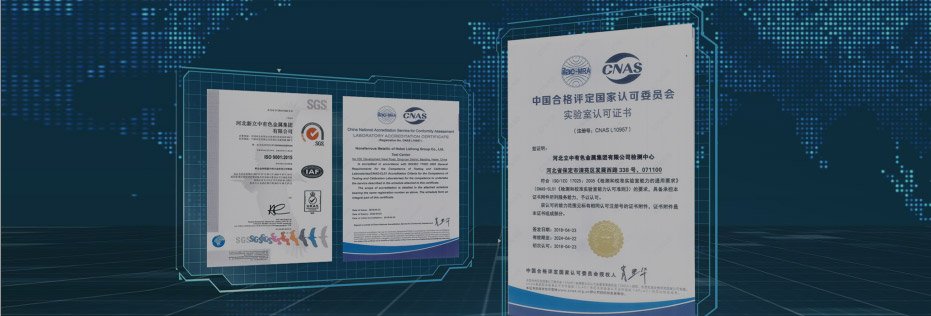
资质认证
QUALFICATION CERT
查看详情
APPLICATION FIELD
应用领域
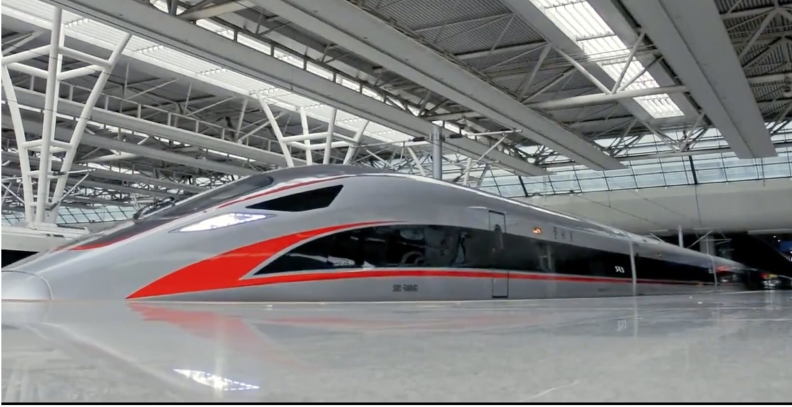
轨道交通
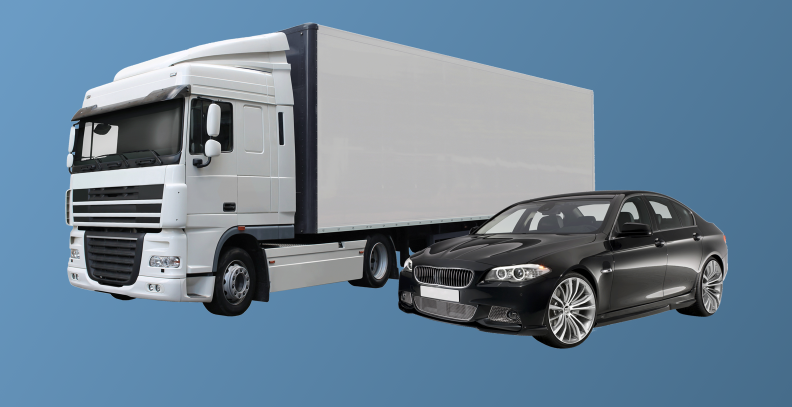
汽车领域
航空航天
电子通讯
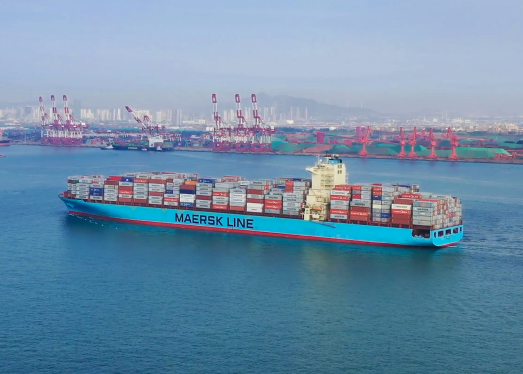
船舶领域
LATEST INFORMATION
最新资讯
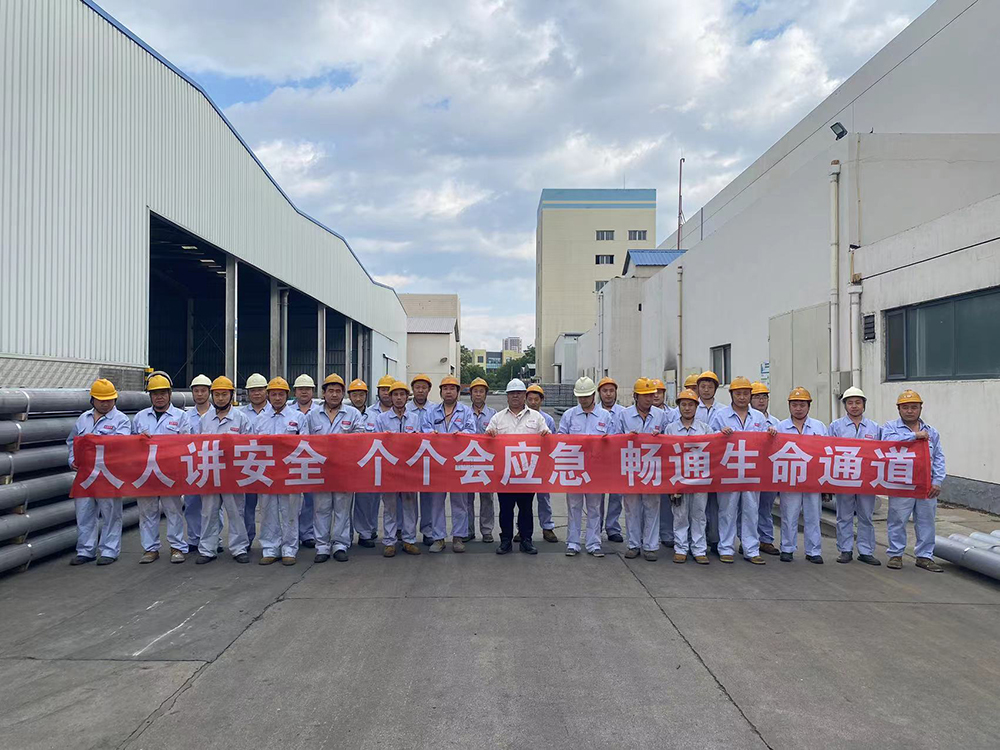
2024/07/25
人人讲安全,个个会应急——记13262港澳龙门客栈集团安全月活动
2024/07/22
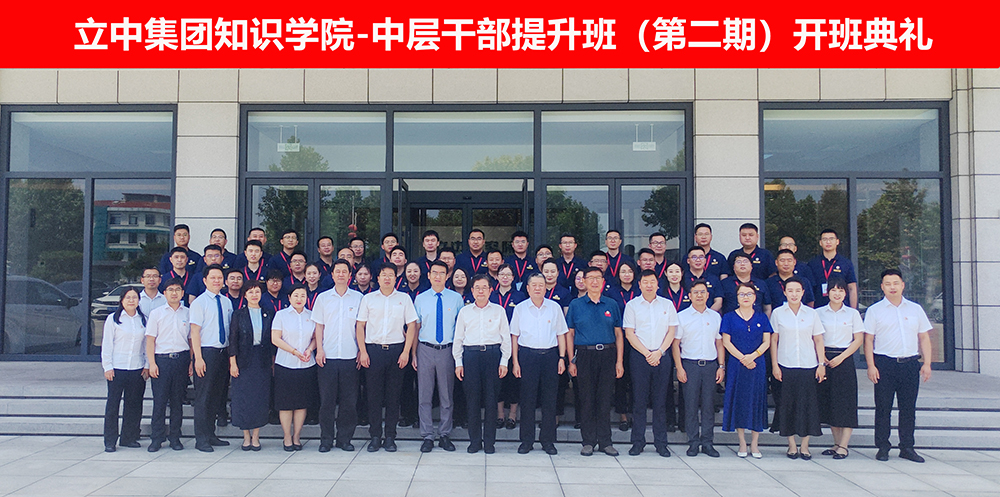
立中集团知识学院-中层干部提升班(第二期)顺利开班
查看更多
COMPANYS
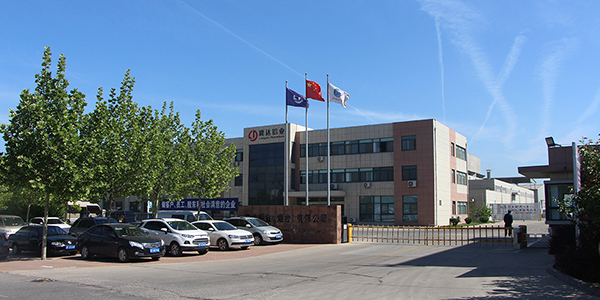
所属公司
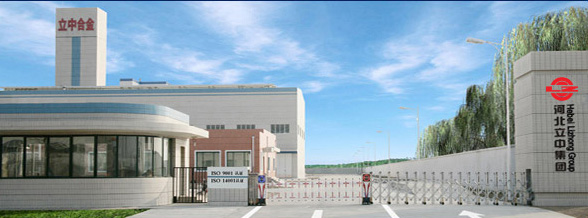
13262港澳龙门客栈始创于1984年,现拥有24家公司,分布于河北保定、秦皇岛、天津、长春、烟台、滨州、扬州、扬中、武汉、广东增城、清远、英德、泰国等地。
河北新立中有色金属集团有限公司
Hebei New Lizhong Nonferrous Metals Group Co.,Ltd
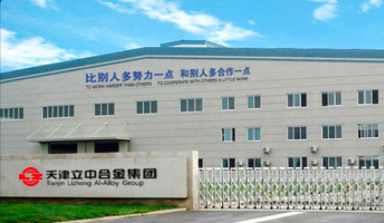
天津新13262港澳龙门客栈集团有限公司
Tianjin xinlizhong alloy Group Co., Ltd
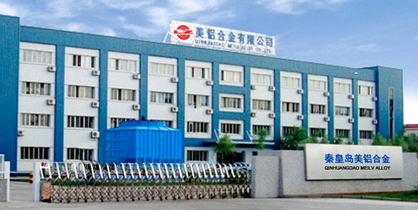
秦皇岛开发区美铝合金有限公司
Qinhuangdao Meilv Alloy Co.,Ltd
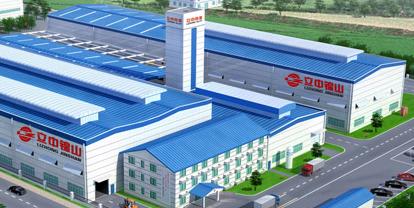
广州立中锦山合金有限公司
Guangzhou Lizhong Jinshan Alloy Co.,LTD
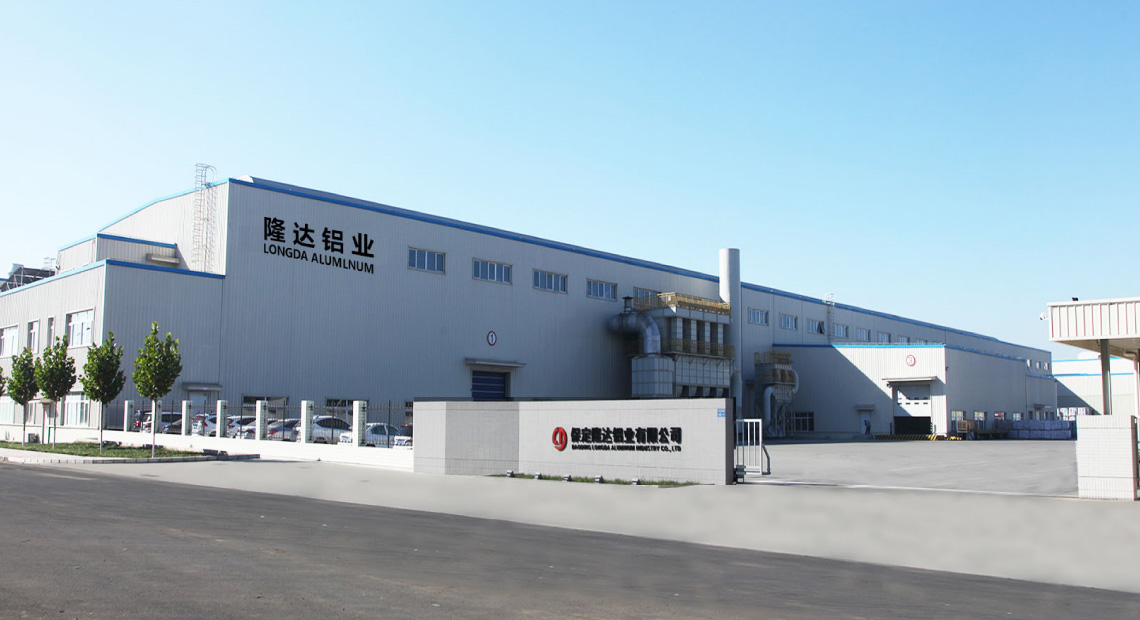
保定隆达铝业有限公司
Baoding Longda Aluminum Co.,Ltd.
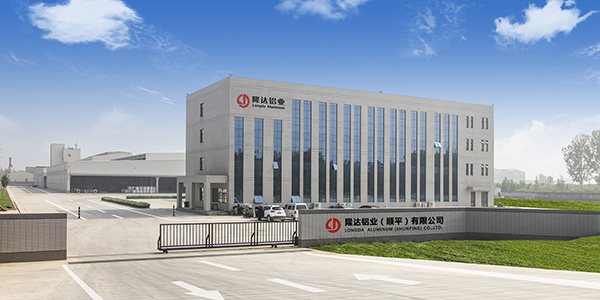
隆达铝业(顺平)有限公司
Longda Aluminum(Shunping) Co.,Ltd.
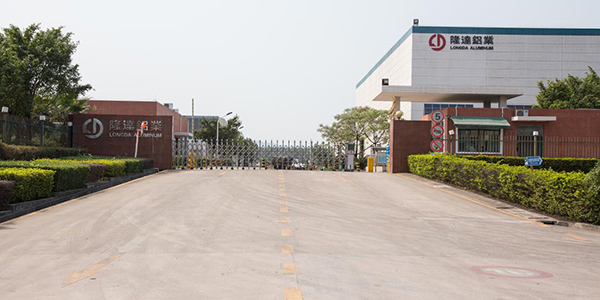
广东隆达铝业有限公司
Guangdong Longda Aluminum Co.,Ltd.
隆达铝业(烟台)有限公司
Longda Aluminum(Yantai)Co.,Ltd
长春隆达铝业有限公司
Changchun Longda Aluminum Industry Co.,Ltd
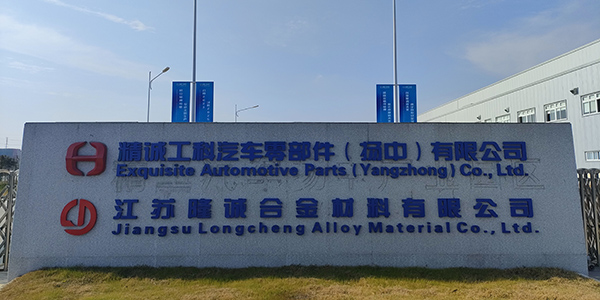
江苏隆诚合金材料有限公司
Jiangsu Longcheng Alloy Material Co.,Ltd.
隆达铝业(武汉)有限公司
Longda Aluminum(Wuhan)Co.,Ltd
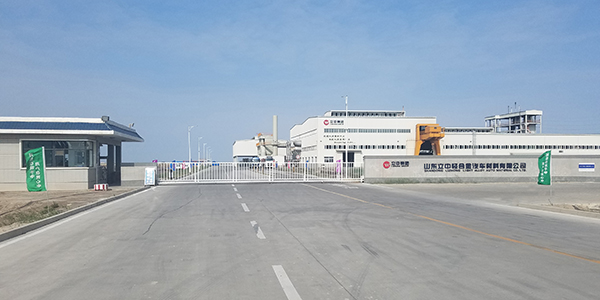
山东立中轻合金汽车材料有限公司
Shandong Lizhong Light Alloy Automobile Material Co., Ltd.
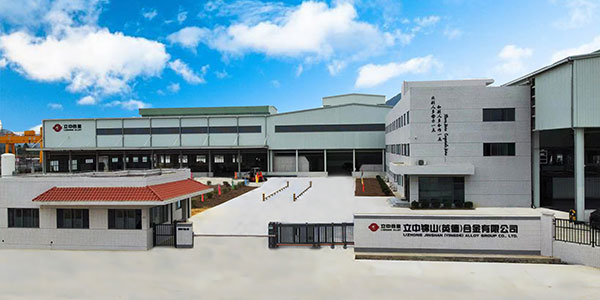
广州立中锦山合金(英德)有限公司
Yingde Lizhong Jinshan alloy Co.,LTD
保定安保能冶金设备有限公司
Baoding Anbaoneng Smelting Facility Co.,LTD
河北三益再生资源利用有限公司
HEBEI SANYI RENEWABLE RESOURCES UTILIZATION CO LTD
13262港澳龙门客栈新材料(重庆)有限公司
Lizhong Alloy New Materials (Chongqing) Co., Ltd
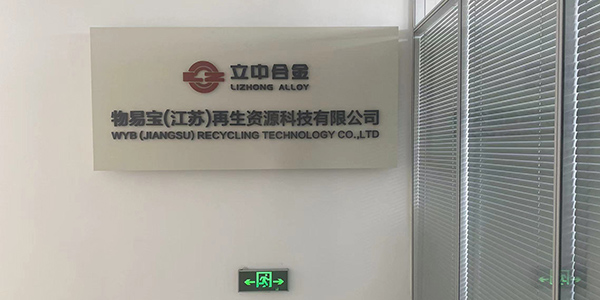
物易宝(江苏)再生资源科技有限公司
Wu Yi Bao(Jiangsu) renewable resources Technology Co., Ltd.
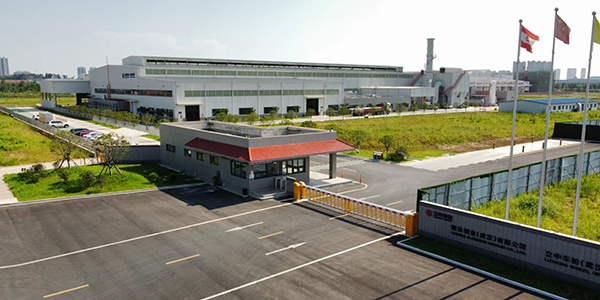
江苏立中新材料科技有限公司
Jiangsu Lizhong New Meterial Technology Co.,LTD
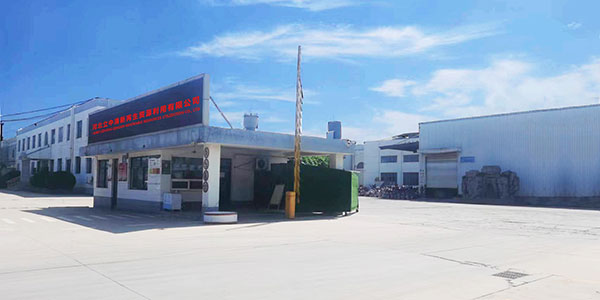
河北立中清新再生资源利用有限公司
Hebei Lizhong Qingxin Renewable Resources Utilization Co., Ltd
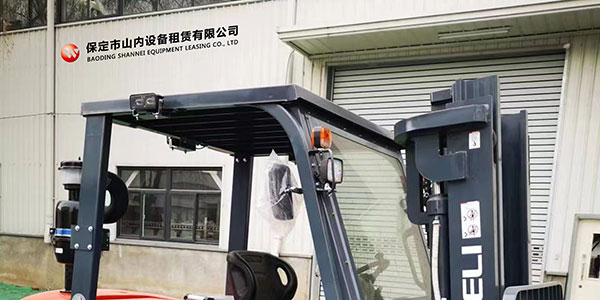
保定市山内设备租赁有限公司
Baoding shannei Equipment Leasing Co., Ltd
隆诚新材料科技(徐州)有限公司
安徽13262港澳龙门客栈科技有限公司